I always enjoy when kids make handmade Valentines for each other. Each year I make sure to set up a Valentine-making center for them in class. I've had this as a center, and I've also had it as an early-finishers station. I make sure to stock it with supplies and fun craft paper for the kids. In addition, I always have two buckets. One that has popsicle sticks with each of my kids' names on it, and one for kids to put the completed Valentines in. When kids go to the station, they have to draw a name from the "Needs a Valentine" bucket. Once they've finished that particular Valentine, they can put it in the "Completed Valentines" bucket with the stick. Once all sticks have made their way to the "Completed Valentine" bucket, I dump them back into the "Needs a Valentine" bucket so the kids can start again. This is always a favorite activity in my class!
Click HERE for the bucket labels.
Monday, February 2, 2015
Wednesday, December 10, 2014
Holiday Craft/Gift
Every year, my class makes a craft/gift for their families around the holidays. I try to change it up each year because often I have siblings of previous students and I want the gifts to be a surprise to the families. My first year, we made photo calendars. Last year we made coasters. This year I decided to have the kids make winter-themed picture frames. I went to Michael's and purchased everything we would need, then I printed photos from their winter concert here at school. Once the kids got started, it took no time for them to create these adorable frames.
Materials Needed
- Picture frames from Michael's ($1 each)
- Snowman adhesive foam decals from Michael's (the entire bin was on sale for $4)
- Various wintry colors of paint (I let the kids choose what color they wanted to use for their winter sky, and whether or not they wanted black or white paint to tint it.)
- One Q-Tip per kid
- Photos of each kid (I could have easily printed these to our school color printer, but I paid a couple dollars to have Wal-Mart print them in the one-hour studio.)
Directions
- Kids started by mixing their paint and painting it onto their frames.
- Once it dried, they used a Q-Tip to dot on the snow with white paint.
- Then they chose all the pieces they wanted for their particular snowman and stuck it onto the frame.
- We added the pictures to the frames. Done!
I chose to buy winter-themed holiday sacks and tissue paper and each kid officially "wrapped" their gift. They also made cards to go along with them, but I don't have a picture of the wrapped gifts. The frames turned out great and actually took less time to make than the gifts we've made in previous years. Enjoy!
Friday, December 5, 2014
Desserts for Early Finishers
I was a kid who finished classwork quickly. I would turn in my assignments and be eager to move on to something else. My teachers always told me that I could "read quietly until everyone else was finished". Don't get me wrong, I loved reading. But sometimes, I wanted some variety. In my class, when the early finishers tell me they're done, I say "Great! You may get dessert now!"
This year I opened a class "Dessert" station. It is a solution for my early finishers that gives them a variety of activities to choose from. I have one tub dedicated to math, one to language arts, and one to "surprises" (anything that doesn't fit in those categories). Students may choose to read quietly when they're done early, or they can choose a dessert to work on. Here are some examples for what are in each of my tubs:
Math
To make the centers more enticing, I let kids turn in their finished work to a special turn-in bucket. Every couple of weeks I randomly draw out a few of these assignments and let the kid who completed them choose something from our class prize bin. The kids are engaged because they have choices, and I always make sure the activities are fresh and relevant to second grade learning.
Click HERE to access my labels for the dessert bins.
This year I opened a class "Dessert" station. It is a solution for my early finishers that gives them a variety of activities to choose from. I have one tub dedicated to math, one to language arts, and one to "surprises" (anything that doesn't fit in those categories). Students may choose to read quietly when they're done early, or they can choose a dessert to work on. Here are some examples for what are in each of my tubs:
Math
- A binder full of various activities. I pull a worksheet or activity I like and make multiple copies. Then I slide the stack into a clear sleeve so kids can easily see them as they flip through. Some of the activities have a QR code that kids can scan into with their iPads to complete an online game or activity. When they do this, there is always an exit slip that requires them to answer questions about what they've just done. I have them turn in this paper.
- Old centers the kids liked. I keep each center in a laminated manila envelope with all necessary pieces, so they're easy to toss in there (and super easy to regularly switch out).
- Small, boxed math games or card games that the kids have previously learned.
L.A.
- A binder of various activities (like above).
- Old centers the kids liked.
- Writing activities.
- Favorite class books kids might want to re-read.
- A list of writing prompts.
Surprise
- A binder of various science or social studies activities (like above).
- Class books we've made.
- Puzzles or brain teasers.
- Our class "family album" that we made at the beginning of the year.
- Each child's BAT Book. (I bought these from Molly Lynch on TPT. They are fantastic!)
- Board games the kids have really liked.
To make the centers more enticing, I let kids turn in their finished work to a special turn-in bucket. Every couple of weeks I randomly draw out a few of these assignments and let the kid who completed them choose something from our class prize bin. The kids are engaged because they have choices, and I always make sure the activities are fresh and relevant to second grade learning.
Click HERE to access my labels for the dessert bins.
Monday, November 24, 2014
Thanksgiving Stories: A QR Code Mini-Book
I've just posted a fun, engaging early-finishers activity for those of you who use scanning devices in your classroom (for examples, iPads). It is a mini-book that uses QR codes to tell various Thanksgiving stories. Students will use their scanning devices to scan each QR code. They will then be brought to various videos that tell them Thanksgiving stories. Most are fun, fantasy stories, but there is a reading of The Story of the Pilgrims. Each page features a different story, as well as an after-reading activity or question that students answer. It creates some fun conversations in class and the kids really look forward to it.
Click HERE to check it out! Enjoy!
Turkey Disguises
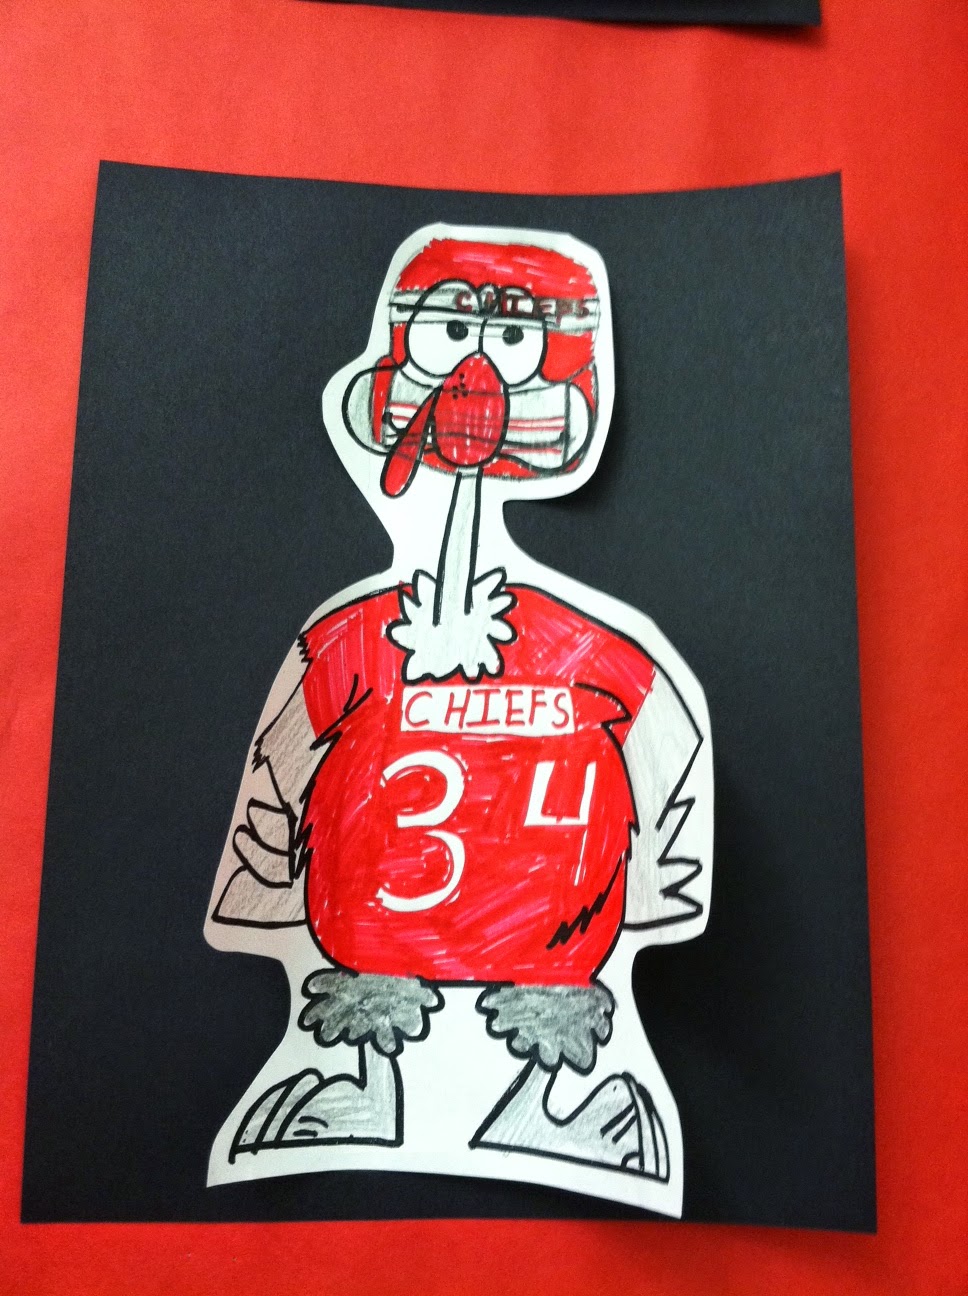
I love the book Turkey Trouble by Wendi Silvano. It's a fun story to read to your class around this time of year. It's about a turkey who tries different disguises to keep from ending up on the Thanksgiving table.
Each year, we ask our students to make "turkey disguises" to help save fictional turkeys from the Thanksgiving table. We send home THIS turkey template (it is a scanned version of a template that has been passed down through the years) printed on card stock. We ask them to use their imagination to create a good disguise for their turkey. They can use colors, materials, etc. to create their turkeys. This activity is just for fun, but it sure makes for a neat November bulletin board!
Thursday, November 20, 2014
My "Word Wall"
I've been wanting to share how I decided to do my word wall this year. Normally I use my back cabinets for a traditional word wall that includes various high frequency and hard-to-spell words in alphabetical order. But I noticed that the word skills my kids seemed to need the most help with were the basic word skills we teach throughout the year (parts of speech, homophones, contractions, etc.). So this year I decided to use my back cabinets to showcase various work they've done with each skill that I will leave up all year. I spend one week per skill for the first nine weeks. So by the end of the ninth week, our "word wall" is complete! My students reference it ALL THE TIME! I tried to find and create activities that would help them visually remember the specific skill (for example, we made "synonym rolls" to learn synonyms, and we did a fun foldable to help learn how contractions are made). I may tweak some activities (or choose entirely new ones) next year, but overall I like this idea of kids being able to reference the word skill as something they have created. Here are pictures of my word wall, as well as links (where applicable) to the different templates I used.
I hope you find these helpful!
| A view of the entire word wall. |
| We used Frame Magic on the student iPads to act out and label various verbs. |
| We used Frame Magic on the student iPads to find pictures of and label the different types of nouns: person, place and thing. |
| Students rotated around to various stations to add their own adjectives (on post-its) to these vivid images I found online. |
| Students chose homophone pairs to represent in pictures. The word cards and picture templates are part of my "Homophones and Multiple Meaning Words" pack. |
| We did "Poppin' Antonyms" for our lesson. Each popcorn box has a word on it. Students searched to find antonyms for that particular word and wrote them on the different popcorn pieces. |
| Students made multiple-meaning M&Ms for this activity. They chose a multiple meaning word and wrote two separate sentences for it that demonstrated the different meanings. |
| This is a traditional compound word activity where students write and illustrate the two separate words needed to create a compound word. |
| After discussing how apostrophes replace missing words in contractions, students dissected and reassembled their own contractions. See below for a close-up picture of what this looks like open. |
| A closer view. |
The Anatomy of the Five Senses
Last year, I made a custom science unit for my second grade class that allowed us to explore the five senses. This unit focuses on the anatomy of the five senses, teaching kids how information travels from the outside world through each sense organ to our brains. It is very hands-on. I spend a week on each sense organ. First we discuss the basics for each sense organ (how information travels to our brains), then we discuss fun facts for that same organ. After that, we spend a day recalling and reflecting on the basic info. Finally, we do an experiment for each sense organ. This is such a fun unit to teach! I have taught it twice now, and both times I have been amazed at how much information my second graders process. They truly learn this stuff ... not to mention, they are highly engaged since it is such a hands-on unit.
Click HERE to check it out. I've included a preview that shows all the pieces for one sense organ, so you get an idea for how I structured the unit. There are even small QR codes on each main page that kids can use to see a cartoon exploration of each sense organ.
That is all for now! I'm hoping to post some other units and activities soon that have been hanging out in my computer for the past year ...
Click HERE to check it out. I've included a preview that shows all the pieces for one sense organ, so you get an idea for how I structured the unit. There are even small QR codes on each main page that kids can use to see a cartoon exploration of each sense organ.
That is all for now! I'm hoping to post some other units and activities soon that have been hanging out in my computer for the past year ...
Subscribe to:
Posts (Atom)